Step by Step Guide to SharePoint Server 2016 Installation
SharePoint Server is a preferred choice among organizations to enable rich, seamless, and productive collaboration. SharePoint Server 2016 builds on the investments of previous SharePoint releases and Office 365 innovation to:
• Lower IT costs with a flexible and scalable collaboration platform.
• Better manage risk by safeguarding your business with secure and reliable capabilities.
• Increase productivity through cost-effective and efficient management.
First of all, complete a Single-Server installation of SharePoint Server 2016 with Database server on a separate machine. Here are the installation details which can be helpful for many who are new to SharePoint. The installation is similar to the older versions of SharePoint except MinRoleTopolgy which is introduced for the first time in SharePoint 2016.
System Requirement
Hardware Requirement:
|
Scenario |
Processor |
RAM |
Hard disk |
|
Database Server |
64-bit, 4 cores |
8-24 GB |
80 GB for system drive100 GB for second drive and additional drives |
|
SharePoint Server |
64-bit, 4 cores |
8-12 GB |
80 GB for system drive80 GB for second drive |
Software Details:
|
Server |
OS |
Installation media |
|
Database Server |
Windows Server 2012 R2 – with latest updates |
SQL Server 2014 with SP1 – x64 |
|
SharePoint Server |
Windows Server 2012 R2 – with latest updates |
SharePoint Server 2016 Preview |
SharePoint Server 2016 Preview installer
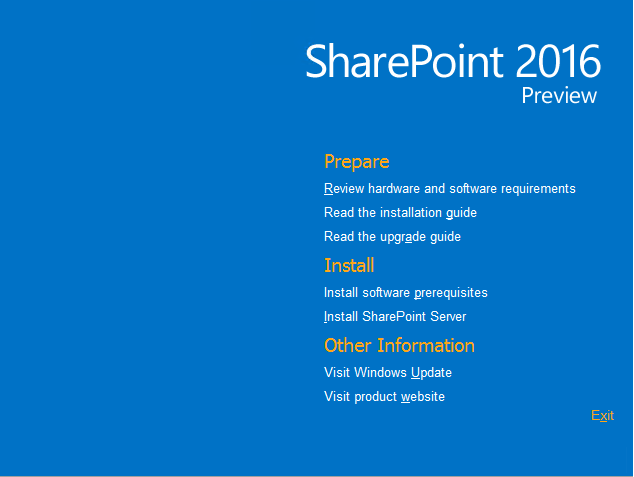
Open the SharePoint Server 2016 Preview installer file from SharePoint 2016 setup which will look like the below:
Prerequisites Installation
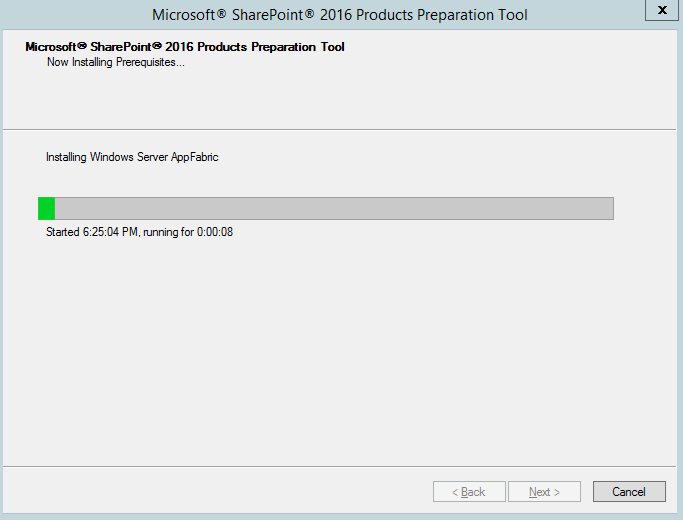
You need to install software prerequisites first before the installation of SharePoint Server 2016, the prerequisites installation can ask for restart multiple time. Start the prerequisites installation as shown below:

On next page, you can view the license agreement which you have to accept if you want to install, you have to accept it because you have no other choice. Prerequisites installation will take some and will also ask for restart. After restart, re-run the installer file and run prerequisites, this will again ask for agree on terms. Again continue it and wait for the installer to complete prerequisites.
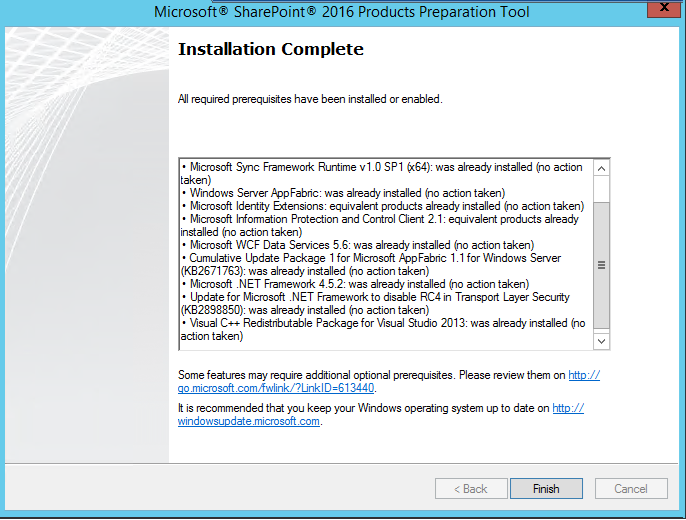
After completion, you can see the installation status. Installation status in my machine is listed below, all installed successfully except .NET framework.
-
• Application Server Role, Web Server (IIS) Role: configured successfully
-
• Microsoft SQL Server 2012 Native Client: was already installed (no action taken)
-
• Microsoft ODBC Driver 11 for SQL Server: installed successfully
-
• Microsoft Sync Framework Runtime v1.0 SP1 (x64): installed successfully
-
• Windows Server AppFabric: installed successfully
-
• Microsoft Identity Extensions: installed successfully
-
• Microsoft Information Protection and Control Client 2.1: installed successfully
-
• Microsoft WCF Data Services 5.6: installed successfully
-
• Cumulative Update Package 1 for Microsoft AppFabric 1.1 for Windows Server (KB2671763): installed successfully
-
• Microsoft .NET Framework 4.5.2: was already installed (no action taken)
-
• Update for Microsoft .NET Framework to disable RC4 in Transport Layer Security (KB2898850): installation error
-
• Visual C++ Redistributable Package for Visual Studio 2013: installed successfully

-
Start the machine as it asks to restart, as you have noticed the one installation error "Microsoft .NET Framework to disable RC4 in Transport Layer Security, you need to install the security update for .net framework".
The error patch description is "A security issue has been identified that could allow an unauthenticated remote attacker to compromise your system and gain access to information"
So you can download the security patch from Microsoft Download Center through this URL
http://www.microsoft.com/en-us/download/details.aspx?id=42883
After installation, run the perquisites again and now you can see the issue is resolved. And we are good to install SharePoint 2016.
SharePoint Server 2016 Installation
Now after the perquisites installation, click on the SharePoint Server 2016 installation link to start the installation. Setup will first prepare the installation files and verify prerequisites and then will start the installation.
On first screen you will be prompt for the Product Key, you can enter key
"NQTMW-K63MQ-39G6H-B2CH9-FRDWJ" for SharePoint Server 2016 Preview release.

Once again you have to accept the license terms

Choose the file location for SharePoint server and search server files. Search index files will be stored in local hard drive which can be very large so make sure that there is sufficient free space in selected drive. I will recommend you to use a separate drive for search index and default drive for SharePoint files.

Click on install now button to start the installation. The installation will take a few minutes to complete, in below image you can see the complete installation status, you can select the check box-the start configuration wizard after the installation or you can manually start the configuration wizard
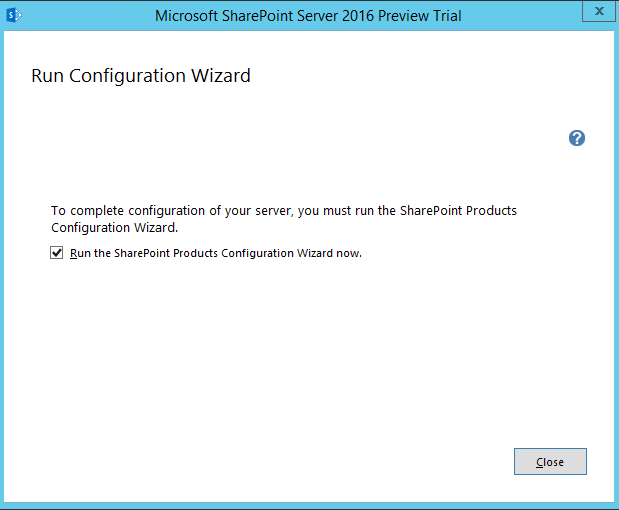
SharePoint Product Configuration Wizard
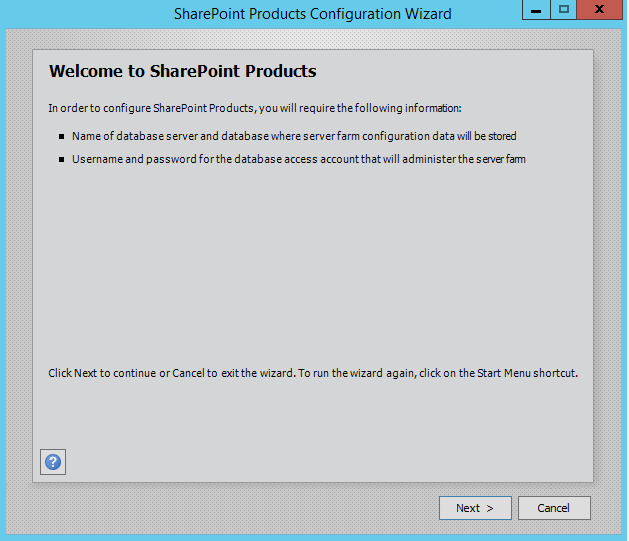
The configuration wizard will start a welcome screen, press next to continue. The following services may have to be started or reset during configuration:
-
• Internet Information Services
-
• SharePoint Administration Service
-
• SharePoint Timer Service
So choose yes to restart the services if required and continue with the configuration wizard.
Select Create a new server farm option from the next step as shown in below screen, if you already have installed a new farm and doing a MinRole installation then select the first option to connect to an existing server farm.

Enter the database server details and database access account details, use a separate user for this but I am using the same SPAdmin user for the preview installation. I have assigned it below rights in DB server:
-
• Dbcreator
-
• SecurityAdmin
-
• SysAdmin

If you are facing issues in connecting to SQL Server then make sure TCP/IP is enabled in SQL Server Configuration Manager. If you still getting the error then turn off the firewall on SQL server machine.

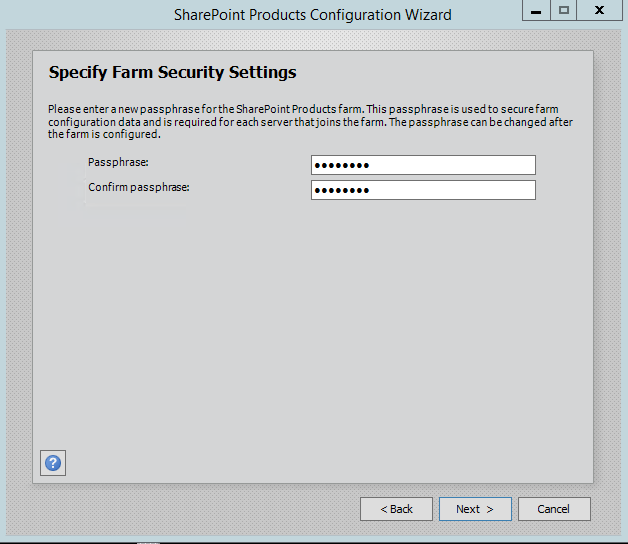
After completing the database settings, press next which will take to you on Farm security settings page. Enter passphrase here which is required to secure the farm configuration data and is required for each server that joins the farm.
Server Roles or the MinRoletopology
Here comes the MinRoles, SharePoint Server 2016 has six types of server roles:
-
• Front-end
-
• Application
-
• Distributed Cache
-
• Search
-
• Custom
-
• Single-Server Farm
You can either select single-server farm or can do a multi-server installation using MinRolestopology. If you have selected Single-Server Farm then you cannot extend to Multi-Server environment, so if you plan to extend to multi-Server farm in future then select the Custom MinRole or Application.
Single-server farm installation is used here, so we will go with the last option.

On next screen, you can specify port for Central Admin or can use the default which is selected randomly. I have never used the default port, I always an easy one which I can remember like 5555. Select NTLM installation mode at this phase and press next.

Verify the settings in configuration wizard, press next to start the wizard. Advance option is not enabled for Single-Server installation.
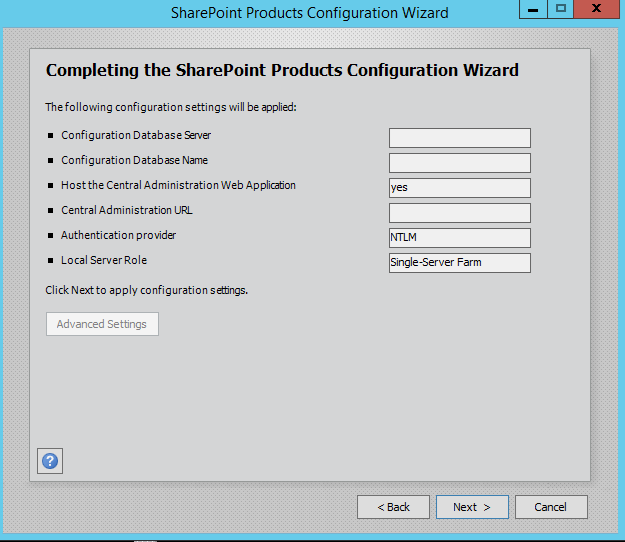
Press Next button, it will start the configuration of SharePoint farm. This is similar to what we do in past with MOSS 2007, SharePoint 2010 and SharePoint 2013 or even with SharePoint Foundation which is no more part of SharePoint 2016.

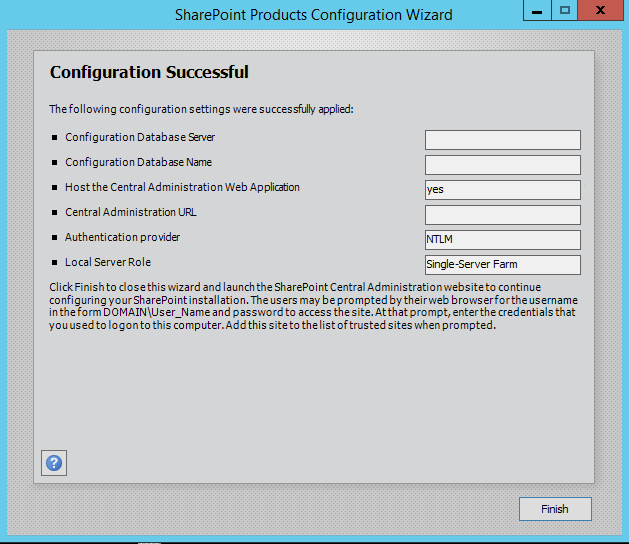
The wizard can take some time and if you get some errors then you have to verify the roles of the user in SQL Server. If everything went smooth then if will finish successfully then it means having a good day otherwise some more effort required
Being a SharePoint MVP, I am quite lucky to install it without any hurdle.
So now, happy time for me to do some Share Pointing on SharePoint Server 2016. After the installation, run the services wizard from Central Administration, setup will take you to the service configuration wizard page, you can either configure them through wizard and can also configure them manually.

As this is test environment, so I will prefer configuring services using wizard. We can define a separate account for services but I am using the same SharePoint Admin account for all services.
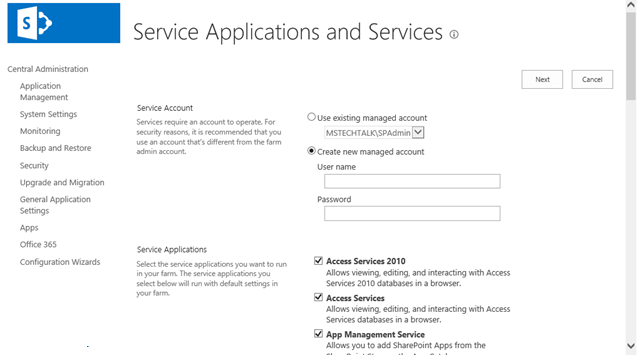
This will complete the services wizard for me and now I am ready to explore SharePoint.
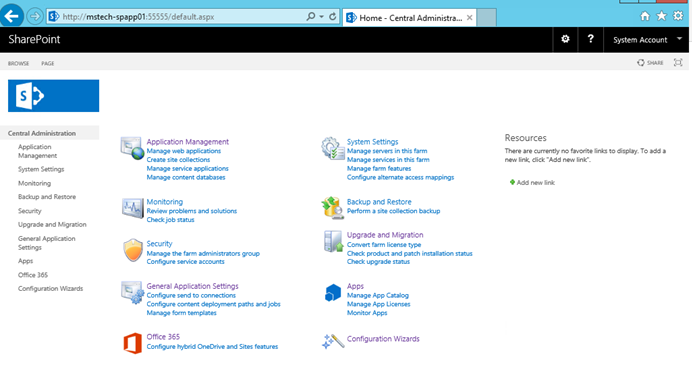
Below you can see the central administration page from my machine, and yes there are many new features in 2016, in below screen you can see one of them related to configure hybrid OneDrive and Site features under Office 365.